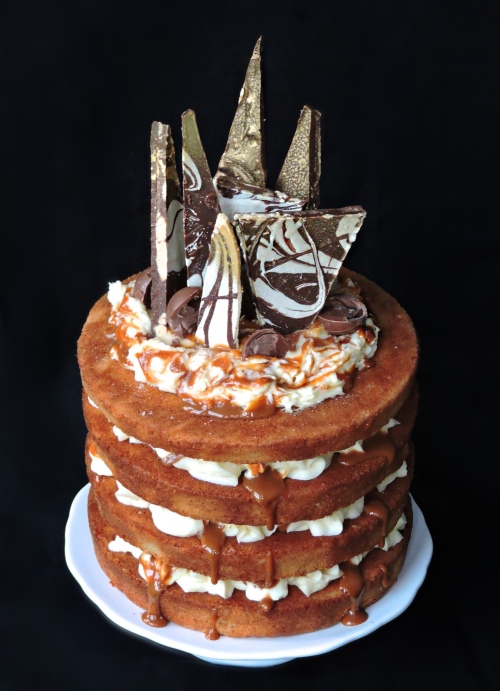
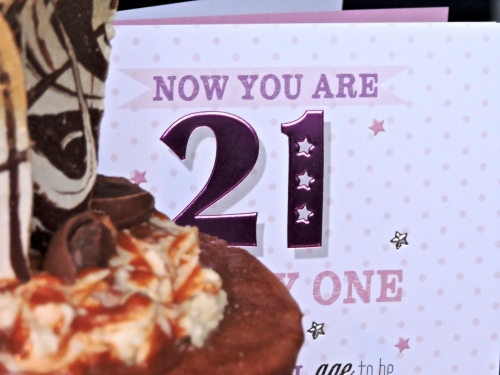
 What are my favourite things in life? Ummm let me think… Salted caramel, brown butter, Biscoff, caramelised white chocolate and cheesecake. Yep, that’s pretty much it. And that’s exactly the logic I followed when deciding what to make for my own birthday cake. It’s a big year, I was feeling the pressure from all angles. Nevertheless, I had the most wonderful weekend with my family and friends and I could not have asked for a better time. I spent the weekend with my parents and my brother in London. Although familiar, it was very lovely and we went for Afternoon Tea at Fortnum & Mason, dinner in Mayfair and wondered around central London shopping, stopping every so often for regular ‘tea breaks’. The day ended last night when I invited my closest friends round to
 eat cake spend some ‘quality time’ together.
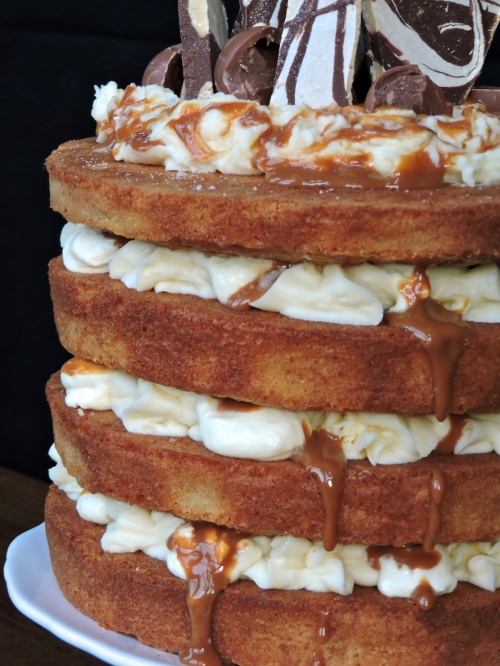
Back to the cake, it’s layers of brown butter biscoff cake, sandwiched with salted caramel cheesecake filling and topped with caramelised white chocolate bark. The design is somewhat Katherine Sabbath/art deco inspired but I winged it and hoped for the best. This cake was actually an experiment, after all there’s no time like your own birthday to experiment and hope for the best! As I knew I was going to be in London from Friday, I baked the cakes on Tuesday and froze them the same day. I hoped that in the couple of hours I gave myself between returning to Lancaster from London and my friends coming round on Sunday, I would be able to put together this rather large cake. It was my first time freezing cakes and I just wanted to see if they would turn out the same. I know a lot of people do it and real bakers rave about how useful the freezer is in their day to day life but I really just wanted to test it for myself and see if the results were the same as a freshly baked cake. Well, to be honest… For a layer cake, they were better. The cakes retained their moisture and flavour but there were no messy crumbs cutting in to the cake and the slices were much cleaner – success.
As I only had a couple of hours to assemble the cake, I worked quickly to get things done. The caramelised white chocolate bark was made earlier during the week and really all I had to do was make the cheesecake filling. I was a bit apprehensive about this bit. If you’ve made cream cheese frosting before, you may or may not know that it has a tendency to go very wrong. I mean it still tastes amazing, but the consistency sometimes completely fails and it’s far too thin. This is because the structure of UK cream cheese destabilises when you add sugar to it. I usually get around this problem by adding stiff whipped cream to the story. As this was a naked cake, I knew that it would need some serious stability to hold up four layers of cake and I incorporated a stiff vanilla buttercream in to it to provide support – great idea. It held up beautifully.
Serves about 15-20
For the cake:
300g salted butter, browned
330g golden caster sugar
4 large eggs
2 tbsp biscoff spread
360g plain flour
4 tsp baking powder
240ml milk
2 tsp vanilla extract
-Adapted from here
For the Salted Caramel Cheesecake filling:
500g cream cheese (I used Philadelphia)
100g salted butter, softened
300g icing sugar, sifted
200ml double cream, whipped
1 tin dulce de leche (I used Carnation Caramel)
Good quality Sea Salt
For the vanilla buttercream:
100g salted butter, softened
300g icing sugar
1tsp vanilla extract
For the Caramelised white chocolate bark:
100g caramelised white chocolate
400g milk chocolate
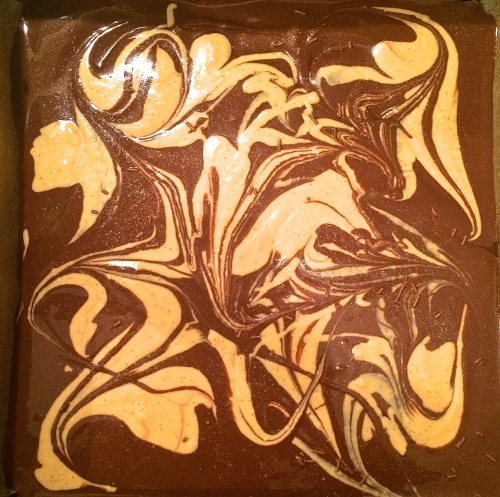
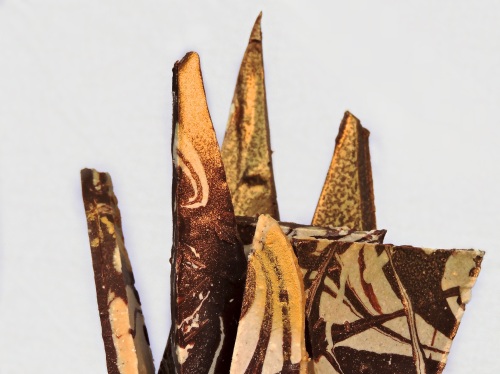
For the bark, caramelise the white chocolate (method found here). Melt the milk chocolate (add in some dark chocolate if you fancy) in a glass or metal bowl over a pan of simmering water until melted. Line an 8×8 inch square tin with baking parchment and pour the chocolate in to the tin. Dollop the caramelised white chocolate through the milk chocolate and swirl it using a skewer. Let it set over night and chop it up in to long pointy shards. Leave it in the fridge until you need it.
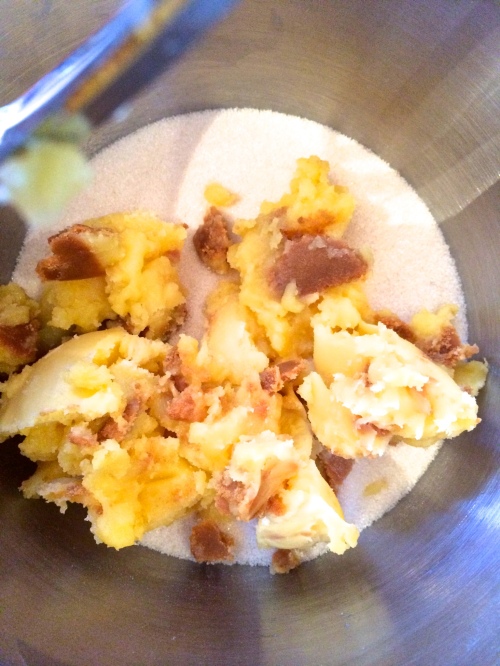
To make the cake, you’ll need to brown the butter first and leave enough time for it to cool to solids again. Use the method in this recipe. To chill, put it in the freezer for half an hour to an hour.
Pre-heat the oven to 160FAN and line a 7 or 8 inch round cake tin, bottom and sides with parchment paper. Once the brown butter is ready, cream the butter and sugar in a bowl using an electric mixer for about 5 minutes until really soft and fluffy. Sift the flour and baking powder together in a bowl and leave to one side. Add the vanilla extract to the milk in a jug and leave that to one side too. Back to the butter and sugar, beat in the biscoff spread followed by the eggs. Crack them in one at a time beating well after each addition. Add the flour mixture and the milk mixture to the cake batter alternately, being careful to not over beat. Make sure your mixer is on a low speed.
Divide the batter in to four equal portions and bake each one for about 25 minutes or until a skewer inserted in to the cake comes out clean.
*If you are freezing the cakes like I did, wait until each layer is cool and then wrap it tightly in cling film and then wrap it in foil and put it in the freezer until you need them. Cakes last about three months. Take them out of the freezer at least 7 hours before you need to eat the cake. It’s fine to frost them if they’re still a bit frozen, they will carry on defrosting while the cake sits in the fridge*
To make the salted caramel cheesecake filling, beat the butter on high speed until really smooth and creamy. Add the cream cheese and icing sugar and beat until it’s all incorporated. Whip the cream separately and fold it in to the cream cheese frosting gently. It will stiffen it up and keep it nice and light.
For the salted caramel, empty the tin in to a small bowl and stir through a good couple of teaspoons of crushed sea salt. Taste it as you go along and make it to your preferences.
For the vanilla buttercream, beat the butter and vanilla until smooth and creamy and add in the icing sugar. To thin it out slightly, use a few tablespoons of the above cheesecake filling. You want it to be stiff and not slack at all.
To assemble the cake, take each layer ensuring they’re all even and flat. Place the first layer on a cake stand and pipe swirls of the stiff vanilla buttercream in a circle. Leave the centre of the circle empty and fill it with the cheesecake frosting. Put the salted caramel filling in a piping bag and with a small round nozzle, swirl the salted caramel through the cheesecake filling pushing the nozzle down as you go along. Do this for every layer until you have reached the top.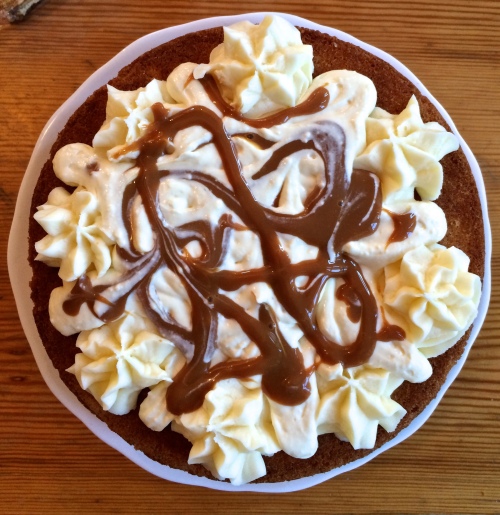
For the topping, I just used the stiff vanilla buttercream as I wanted it to be strong enough to hold up the chocolate bark. Spread it over the top and push each piece of bark in slightly. Spray with edible gold glitter spray and swirl through some more salted caramel. Leave it in the fridge until you need it. As it was my own birthday cake, I experienced cutting it first hand and thoroughly recommend cutting it using a small serrated knife as opposed to a large chef’s knife!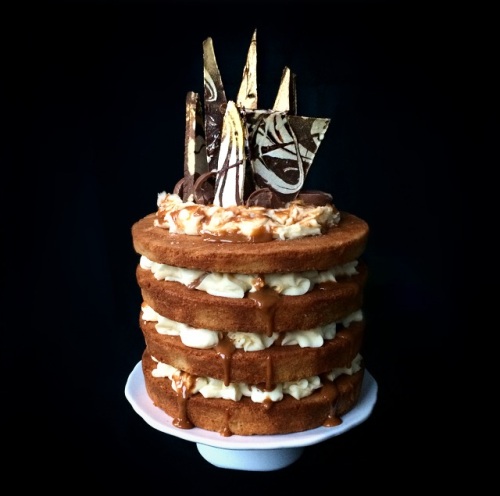
Thank you to everyone who made an effort for my birthday – I had a truly lovely day.
Even the snow made an unwelcome appearance (in MARCH?!):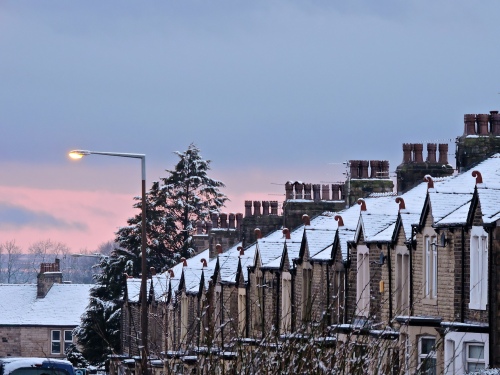
For comments just scroll up and click the little pink heart next to the title of the post 🙂

Happy birthday! Gorgeous cake xx
LikeLiked by 1 person
Thank you! xx
LikeLike
Happy Birthday! And amazing photography skills! I would love you be able to take such amazing pictures!
LikeLiked by 1 person
Oh thank you so much! I learn something new about taking food pictures every time so that really means a lot! My housemates even bought me a tripod for my birthday!
LikeLike
Happy Birthday Huma! Amazing cake! Heard it tasted very good too!
LikeLiked by 1 person
Thank you very much Mrs Ikomi! I hope it did – everyone seemed to enjoy it 🙂
LikeLike
Happy Birthday Huma bhaji
LikeLike
Delicious looking cake and Happy Birthday Huma Bhaji
LikeLiked by 1 person
Yum this looks so delicious, I love salted caramel 🙂
LikeLike